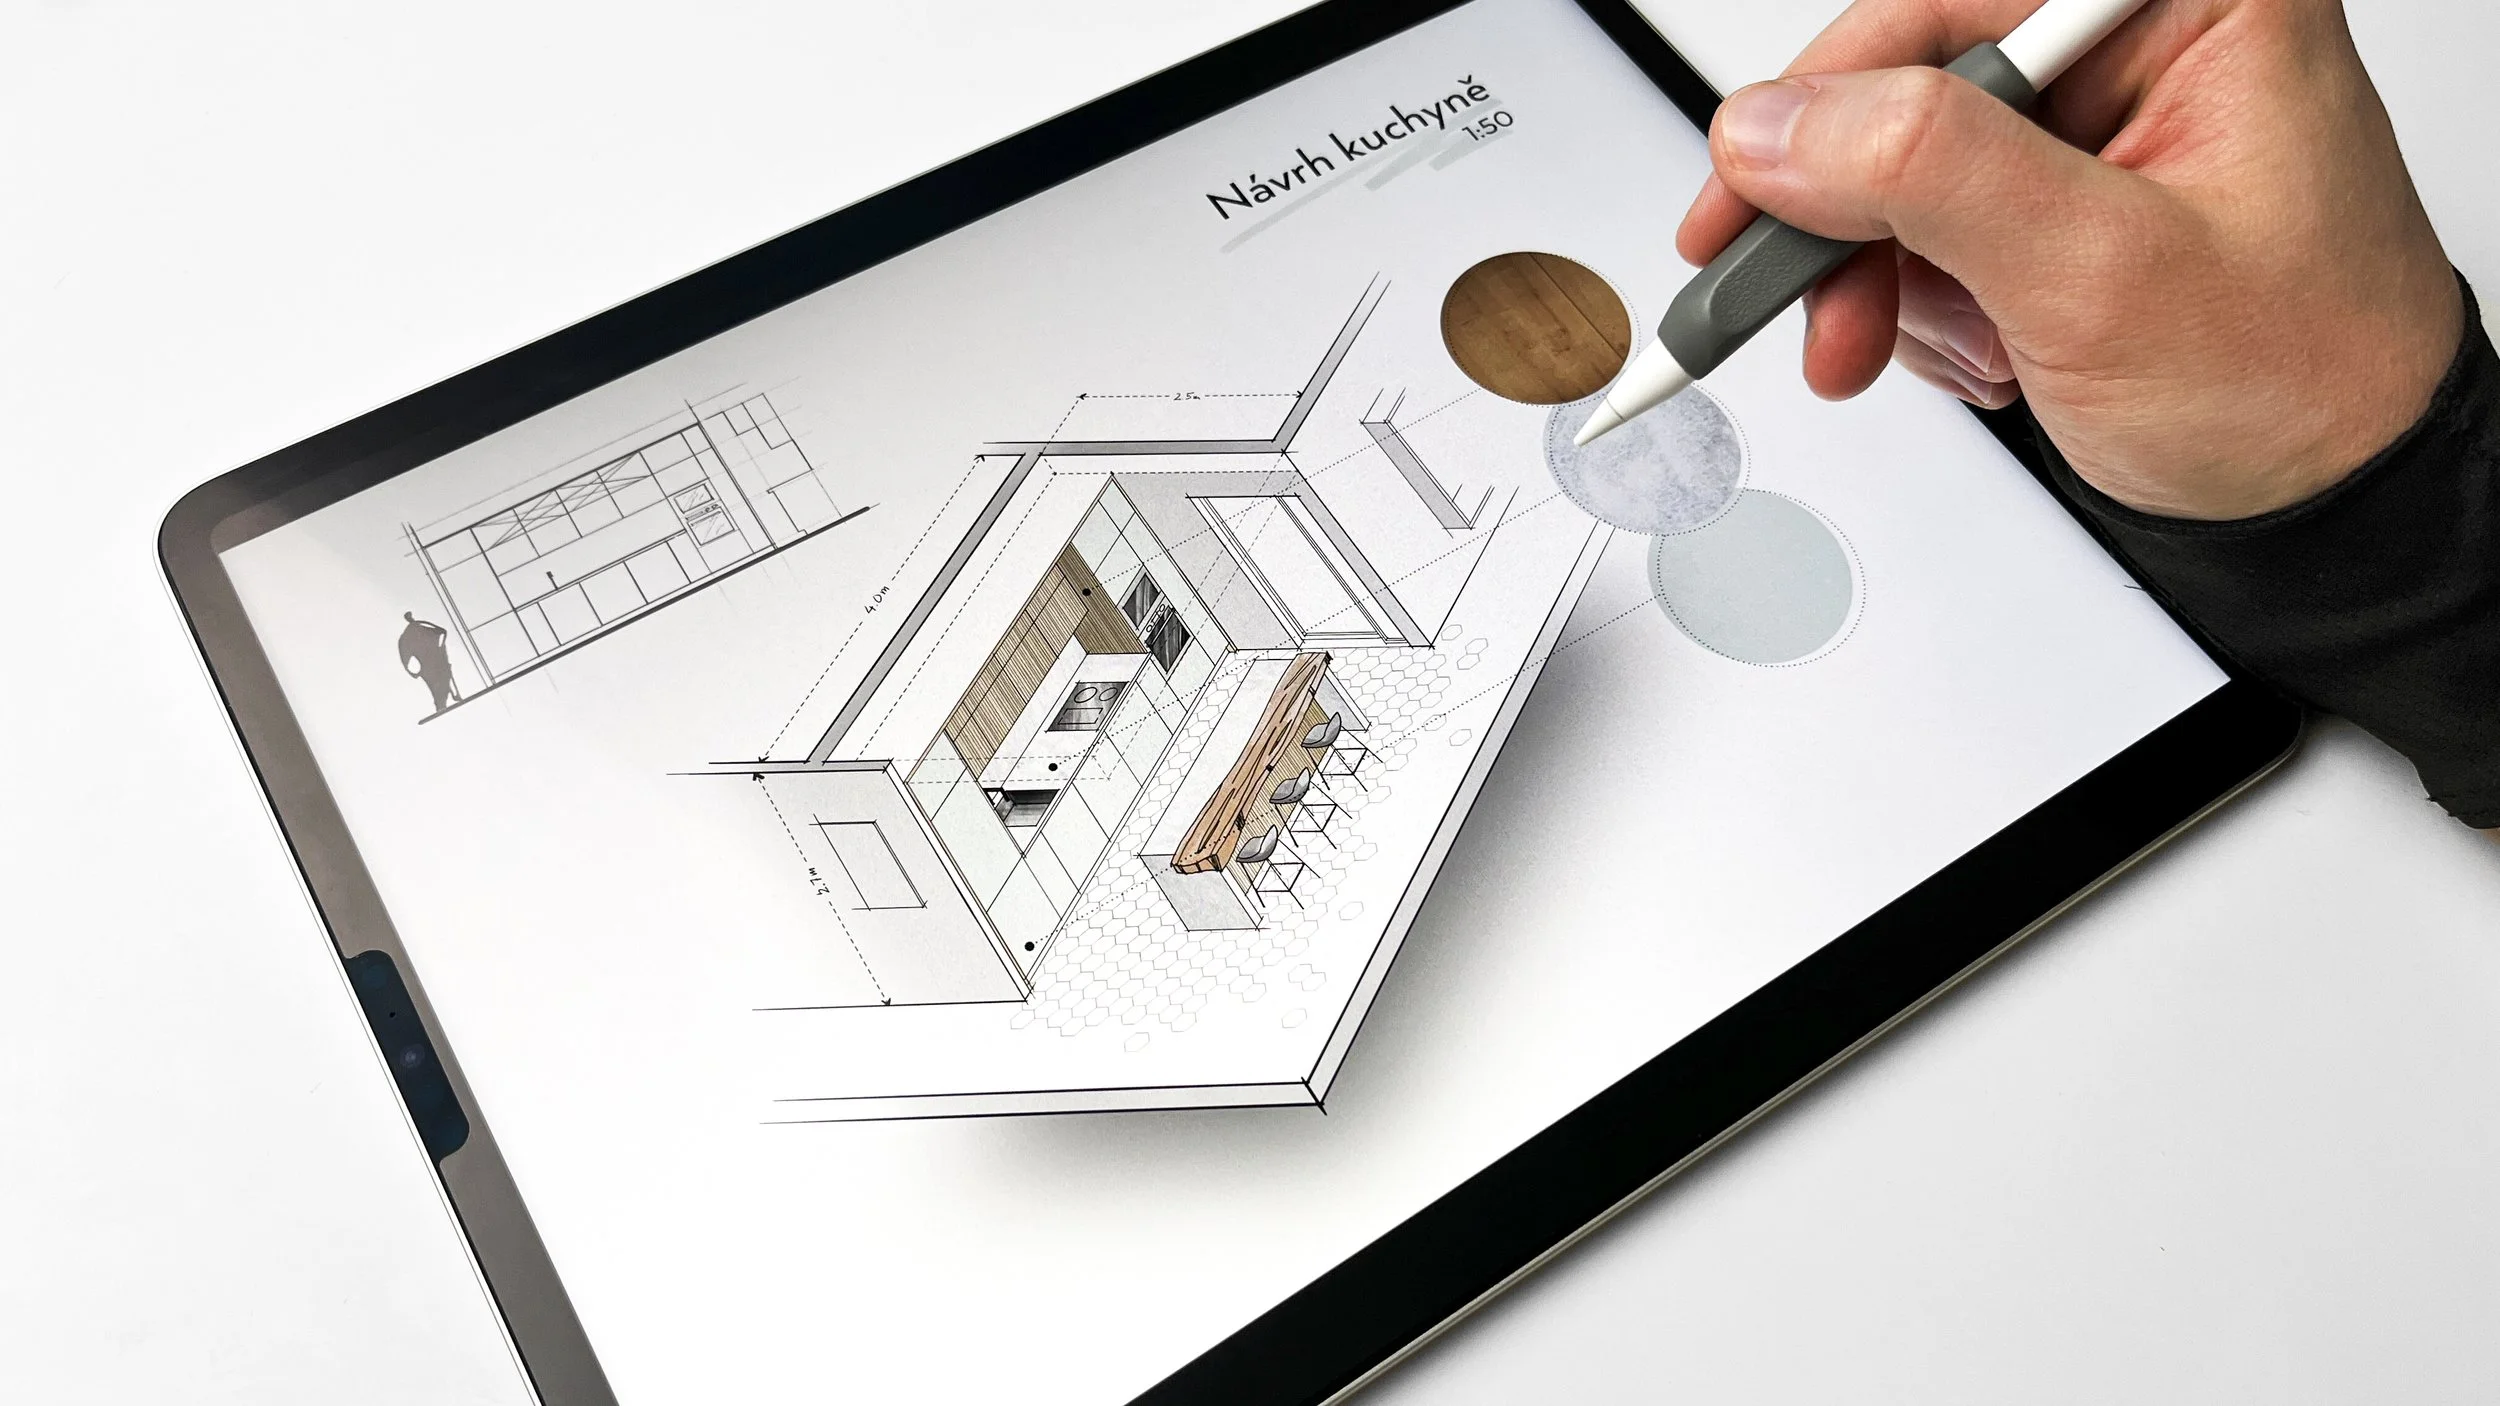
Clipping Mask vs. Layer Mask in Procreate
If you’re new(-ish) to Procreate and you’re confused about masking - what is it for and when to use different types of mask - this article is for you!
The other day I was teaching a full-day Procreate workshop for interior designers at Ambience Academy here in Prague, Czech Republic
One of the concepts for non-destructive workflow (aka when you can change your mind later and create variations without a headache)
that we discussed and used a lot is about MASKING in digital sketching.
And because I couldn't really work without it but at the same time it isn't the easiest technique to adopt, I want to elaborate on it here with you as well.
LAYER MASKS
Layer masks allow you to change what's visible in a layer without erasing or deleting (and therefore losing!) pixels.
A layer mask is added and attached to a single layer so that you can "hide" parts of the layer in it.
In a layer mask, you use generally just two colors:
black color - to hide parts of the layer
white color - to reveal those parts again
By using a lower opacity brush, you can also create nice and easy fade outs or gradients.
If you ever change your mind about the hidden parts, you can reveal them back at any time (unlike with erasing) by drawing with white color in the mask.
CLIPPING MASKS
Clipping masks are separate layers that are taking shape after the layer directly under them.
Example: Just like in the animation above, you can use a layer with a circle to quickly crop your phototexture to a circular shape (the top phototexture layer becomes a clipping mask referring to the circle layer beneath).
The advantage is that you still keep both layers separate and also you can move the clipping mask independently from the layer below.
ALPHA LOCK
There’s also a third option - an Alpha lock. I don’t personally use it because it is destructive (it doesn’t allow for changes later on).
By enabling Alpha lack on a layer, you’re locked to draw just over the existing contents of that layer.
Example: You have a filled circle drawn in your layer and you want to add shading to it to make it look like a sphere. An Alpha lock will allow you to draw to add shading just within the boundaries of the circle and not outside.
However, you’ll overdraw the pixels of the circle and therefore change the layer in a destructive way, without the option of removing or changing the shading effect later.
Does this sound too technical? Would you appreciate video demonstration with an option to ask questions and get feedback?
If you need to quickly learn almost everything Procreate has to offer but you’re short on time,
join me for a beginner-friendly Procreate Workshop for Architects and Designers!
In just 2-hour video workshop with bite-sized lessons, you will:
get a quick start to Procreate,
create our own canvas template,
learn all the key functionalities,
create a beautiful warmup illustration together
learn how to work non-destructively and to scale (using both metric and imperial system)!
master 2D and isometric grids (to draw to scale even free-hand) and effective use of drawing assistance, quick shapes & stabilization
set up preferences, shortcuts, and learn hidden useful features that many people miss
and more!
What you're getting with the Procreate Workshop:
a 2-hour recorded training divided into bite-sized lessons
life-time, unlimited access to all the content
Procreate color palette and images/textures we'll work with
my custom Procreate Sketching Brushes for FREE (separately sold for $30 USD)


